Implementing JPEG encoding in C#
When I was an undergraduate I became fascinated by image and video compression, to the extent that I ended up pursuing the topic as a PhD and beyond in academia. As part of this, I implemented numerous compression algorithms in C and C++. Similarly, as an academic a research area of mine was image and video steganography. Hiding information in an image or video often involves modifying/expanding the compression process to perform the information hiding, which necessitates implementing the compression process yourself.
I’ve recenty been working on a steganography app for hiding information in JPEG images, which in turn necessitated implementing JPEG compression myself. I used C# and SkiaSharp because I wanted to create a Mac app. Why a Mac app? Because Windows is an abomination! I was also curious about what performance I’d get out of C# for what’s a computationally intensive process, particularly when using typical C# programming patterns.
I’ll be exploring the steganography process in another blog post. Instead, this blog post will provide a high-level overview of implementing JPEG encoding in C#.
JPEG encoding overview
I’m not going to describe in detail how JPEG encoding works. For a detailed explanation, see JPEG on Wikipedia. Alternatively, for a simpler explanation see JPEG on Simple Wikipedia. However, a high-level overview of the JPEG encoding process is shown in the following diagram:

The encoding process consists of the following steps:
- The image is converted from the RGB colour space to the YCbCr colour space, with the chrominance components then being downsampled to reflect that the fact that the eye is less sensitive to colour detail (the Cb and Cr channels) than it is to brightness detail (the Y channel).
- The YCbCr image data undergoes a Discrete Cosine Transform (DCT), in 8x8 blocks of pixels. The DCT is related to the Fourier transform, in that it produces what can be thought of as a frequency spectrum.
- The DCT coefficients, which represent the amplitudes of the frequency components, are quantised. This exploits the fact that the eye is more sensitive to small variations in colour or brightness over large areas, than to the strength of high-frequency brightness variations. Therefore, the magnitudes of the high-frequency components are reduced to a lower accuracy than the low-frequency components.
- The resulting quantised DCT coefficients for the 8x8 blocks are entropy encoded with a variant of run length encoding (RLE) and Huffman coding.
While this sounds relatively straightforward, it’s a fairly complicated process to implement yourself.
Implement JPEG encoding
I’ve implemented JPEG encoding in a .NET 9 class library, whose only dependencies are SkiaSharp and Microsoft.Extensions.DependencyInjection. The SKBitmap type from SkiaSharp is used to represent the image to be compressed, and the SKPixmap type is used to get the pixel data for the image. Microsoft.Extensions.DependencyInjection is used to provide inversion of control for all the services that implement JPEG compression. The class library includes an extension method, AddImageServices, that registers all the services required to perform JPEG compression:
public static class ServiceCollectionExtensions
{
    public static IServiceCollection AddImageServices(this IServiceCollection services)
    {
        services.AddScoped<IJPEGService, JPEGService>();
        services.AddScoped<IColourTransformationService, ColourTransformationService>();
        services.AddScoped<IDCTService, DCTService>();
        services.AddScoped<IPaddingService, PaddingService>();
        services.AddScoped<IRunLengthEncodingService, RunLengthEncodingService>();
        services.AddScoped<IHuffmanEncodingService, HuffmanEncodingService>();
        services.AddScoped<IEncodingService, EncodingService>();
        services.AddScoped<IHeaderService, HeaderService>();
        services.AddScoped<IHuffmanDecodingService, HuffmanDecodingService>();
        services.AddScoped<IBitReaderService, BitReaderService>();
        return services;
    }
}
The most important class is JPEGService, which controls the encoding process via the Encode method:
public void Encode(SKBitmap image, BinaryWriter bw)
{
    ...
    ImageInfo jpeg = CreateImageInfo(image);

    // Create JFIF headers
    _headerService.WriteHeaders(bw, jpeg);

    // Transform image to YCbCr colour space
    jpeg.ColourData = _colourTransformationService.RGBToYCbCr(jpeg.Bitmap!);

    // Calculate DCT values
    jpeg.DCTData = _dctService.CalculateDCT(jpeg.ColourData, jpeg.Width, jpeg.Height);

    // Quantize DCT values
    jpeg.QuantizedDCTData = _dctService.QuantizeDCT(jpeg.DCTData, null, null);

    // Run length encoding and huffman encoding
    _encodingService.EncodeData(jpeg.QuantizedDCTData, bw);

    // Write end of image header
    _headerService.WriteEOI(bw);
}
This method controls the JPEG encoding process, by performing the transformation from the RGB colour space to the YCbCr colour space, the DCT, quantisation, and RLE and huffman encoding. The ImageInfo type contains all the data that’s used to create the JPEG encoded image, including pixel data, DCT coefficients, quantised DCT coefficients, quantisation tables, and more. The BinaryWriter stream is used to create the JPEG file, and is passed in from the calling app.
Note: This code could be made more robust, in that it writes out the JFIF headers even if the rest of the encoding process fails. But it does, hopefully clearly, illustrate the high-level overview of the JPEG encoding process I mentioned earlier.
While I won’t explain the majority of the code, because that would result in a blog post that takes several hours to read, I do want to mention the ColourTransformationService.RGBToYCbCr method, which in turn calls the ApplyColourTransform method:
unsafe void ApplyColorTransform(SKBitmap bitmap, ColourData result)
{
    SKPixmap pixmap = bitmap.PeekPixels();
    byte* bmpPtr = (byte*)pixmap.GetPixels().ToPointer();
    int width = bitmap.Width;
    int height = bitmap.Height;

    for (int i = 0; i < height; i++)
    {
        for (int j = 0; j < width; j++)
        {
            byte red = *bmpPtr++;
            byte green = *bmpPtr++;
            byte blue = *bmpPtr++;
            byte alpha = *bmpPtr++; // Ignored

            float y = RGB.ToY(red, green, blue);
            float cb = RGB.ToCb(red, green, blue);
            float cr = RGB.ToCr(red, green, blue);

            float yColorShifted = (float)(y - 128);
            float cbColorShifted = (float)(cb - 128);
            float crColorShifted = (float)(cr - 128);

            result.Y[i, j] = yColorShifted;
            result.Cb[i, j] = cbColorShifted;
            result.Cr[i, j] = crColorShifted;
        }
    }
}
This method gets the pixel data from a source image and converts it from the RGB colour space to YCbCr, and uses SkiaSharp types. If you used another framework/SDK to display an image and get its data, this would be the method that would need updating to use the framework/SDK of your choice. To understand how this method works, see Getting pixel data with SkiaSharp.
JPEG encode an image
I’ve written a .NET MAUI Mac Catalyst app, that uses SkiaSharp, to call into my class library that implements JPEG compression. To understand how MVVM is used in this app, with SkiaSharp, see SkiaSharp and MVVM.
Before you can invoke any of the JPEG compression code you have to call the class library’s AddImageServices method to register all the services required. This is accomplished in the MauiProgram class:
public static class MauiProgram
{
    public static MauiApp CreateMauiApp()
    {
        var builder = MauiApp.CreateBuilder();
        builder
            .UseMauiApp<App>()
            .UseSkiaSharp()
            .UseMauiCommunityToolkit()
            .RegisterServices()
            .RegisterViewModels()
            .ConfigureFonts(fonts =>
            {
                fonts.AddFont("OpenSans-Regular.ttf", "OpenSansRegular");
                fonts.AddFont("OpenSans-Semibold.ttf", "OpenSansSemibold");
            });

#if DEBUG
        builder.Logging.AddDebug();
#endif

        return builder.Build();
    }

    public static MauiAppBuilder RegisterServices(this MauiAppBuilder mauiAppBuilder)
    {
        mauiAppBuilder.Services.AddImageServices();
        mauiAppBuilder.Services.AddTransient<IBitmapRendererService, BitmapRendererService>();
        mauiAppBuilder.Services.AddSingleton<IFileSaver>(FileSaver.Default);

        return mauiAppBuilder;
    }
    ...
}
The JPEGService class can then be injected into a view model class, so that you can call the Encode method:
using CommunityToolkit.Mvvm.Input;
using CommunityToolkit.Mvvm.ComponentModel;
using CommunityToolkit.Maui.Storage;
using ImageSteg.Services;
using SkiaSharp;
using ImageCompression.JPEG.Services;

namespace ImageSteg.ViewModels;

public partial class MainPageViewModel : ObservableObject
{
    readonly IJPEGService _jpegService;
    readonly IBitmapRendererService _bitmapService;
    readonly IFileSaver _fileSaver;

    public MainPageViewModel(IJPEGService jpegService, IBitmapRendererService bitmapService, IFileSaver fileSaver)
    {
        _jpegService = jpegService;
        _bitmapService = bitmapService;
        _fileSaver = fileSaver;
    }
    ...
}
The BitmapService class is used to render an image file, and the FileSaver class is used to save a file to disk.
When you run the app you’ll see that it has a simple UI that displays buttons that let you load an image and encode it to JPEG:

Images can be loaded from your library in the formats supported by SkiaSharp. This means you could load a JPEG image, which you’ll then re-encode. While this seems a bit pointless, it’s purpose will become clear in a future blog post when combined with stegnographic algorithms.
Watch out! .NET MAUI 9 doesn’t respect the EXIF orientation data in images when it loads and displays them. This can result in images being incorrectly oriented. This is infuriating, particularly when Xamarin.Forms supported it, but I believe that .NET MAUI 10 does respect EXIF orientation data.
Then, when you click the Encode to JPEG button the MainPageViewModel.EncodeImage method is invoked to encode the image pixel data to JPEG, and write it to disk:
using CommunityToolkit.Mvvm.Input;
using CommunityToolkit.Mvvm.ComponentModel;
using CommunityToolkit.Maui.Storage;
using ImageSteg.Services;
using SkiaSharp;
using ImageCompression.JPEG.Services;

namespace ImageSteg.ViewModels;

public partial class MainPageViewModel : ObservableObject
{
    ...
    string? _fileName;

    [RelayCommand(CanExecute = nameof(IsLoaded))]
    async Task EncodeImage()
    {
        using MemoryStream memStream = new MemoryStream();
        using BinaryWriter binaryWriter = new BinaryWriter(memStream);

        try
        {
            // Encode
            _jpegService.Encode(_bitmapService.Bitmap!, binaryWriter);

            // Save
            var fileLocationResult = await _fileSaver.SaveAsync(_fileName!, memStream);
            fileLocationResult!.EnsureSuccess();
            _fileName = fileLocationResult.FilePath;
            SaveStatusMessage = $"File saved: {fileLocationResult.FilePath}";
        }
        catch (Exception ex)
        {
            Console.WriteLine(ex.Message);
            SaveStatusMessage = $"File isn't saved: {ex.Message}";
        }
    }
}
This method encodes the image pixel data to JPEG by calling the JPEGService.Encode method, passing in an SKBitmap that contains the pixel data, and a BinaryWriter memory stream for writing the JPEG data to. Then, the results are saved to disk by the FileSaver type:
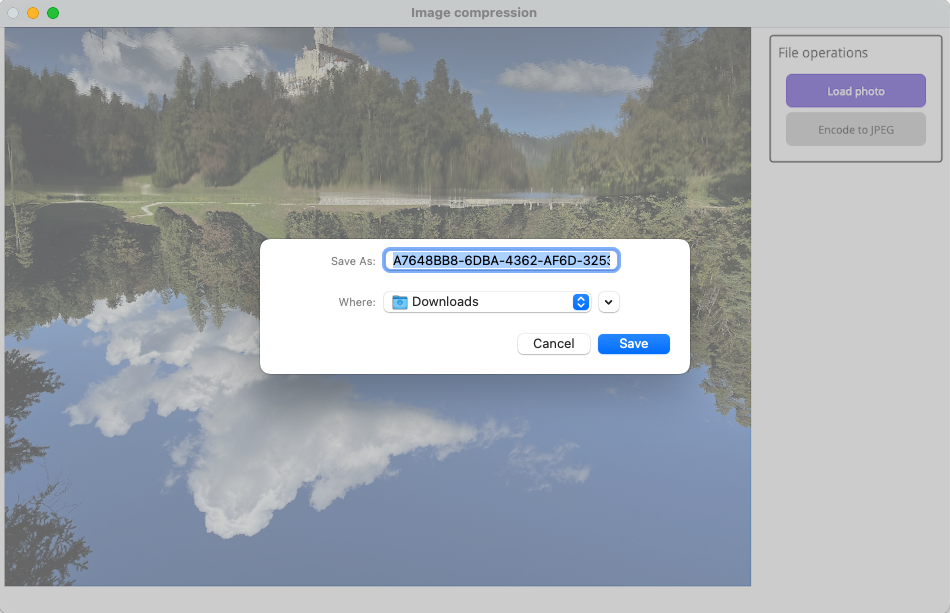
The FileSaver type is in the .NET MAUI Community Toolkit and let’s you choose a filename and location before writing the memory stream to a file. In addition, a status message appears at the bottom of the UI indicating where the file has been saved to. The saved file is a standard JPEG image that can be opened by all imaging apps.
Watch out! The code could be made more robust, in that it doesn’t check if the JPEG encoding process has succeeded before attempting to write the memory stream to disk. Instead, it just assumes success.
Earlier I mentioned that I was curious about the performance I’d get for JPEG compression implemented using typical C# programming patterns. The first time I ran the code I was horrified. On my M2 Mac it took about 90 seconds to compress a typical high resolution image from a mobile phone. I managed to optimise this down to roughly 60 seconds. Then I realised what the issue was - the build configuration. I switched from a debug build to a release build and instantly was observing hi-res images being compressed in 2-3 seconds, which is what I expected. However, there are still optimisation opportunities in the code, for example re-writing the DCT code to perform it in place using SIMD operations.
At this stage, this may all seem a bit pointless. I’ve written an app that uses SkiaSharp to load and display an image (including JPEG images), and then encode the image to JPEG based on the class library implementation. However, as I explained previously image steganography typically requires you to implement image compression algorithms yourself, such as JPEG, because effective steganography occurs during the image encoding process. This will hopefully become clearer in a future blog post on combining steganography algorithms with JPEG encoding.