Getting pixel data with SkiaSharp
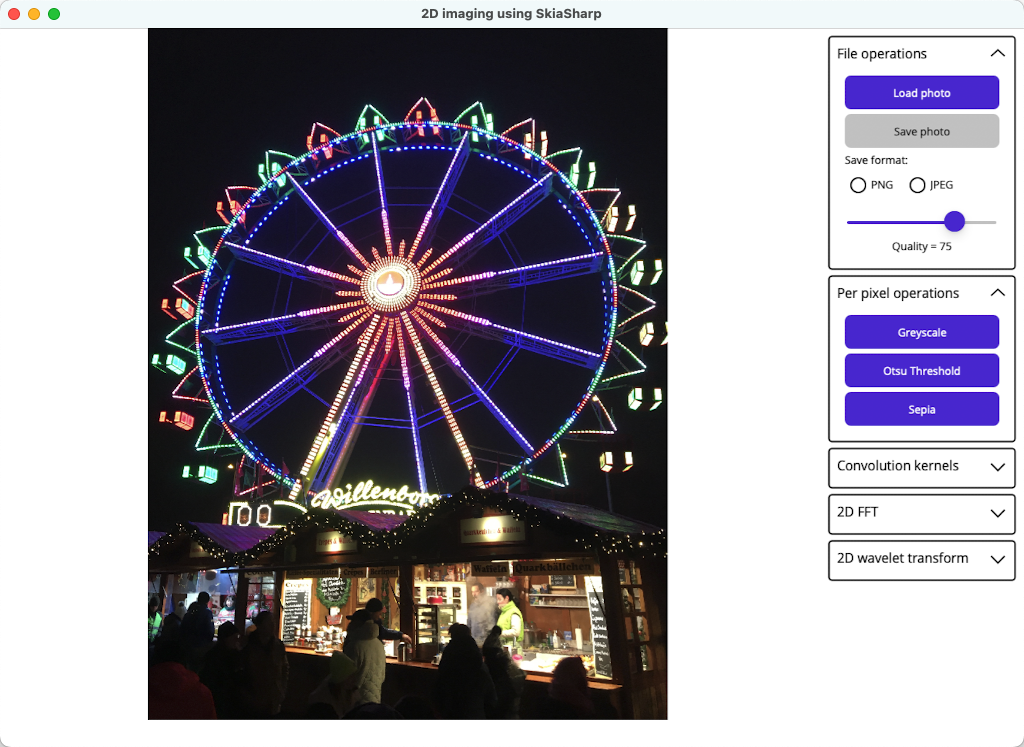
I’ve recently produced a prototype app for performing 2D image processing with SkiaSharp, hosted in a .NET MAUI app that targets Mac Catalyst:
The reason I only targeted Mac Catalyst, and not iOS/Android, is the difficulty of having one cross-platform UI that works across desktop and mobile form factors. So I limited the prototype to Mac Catalyst so I’d only have to implement a desktop form factor UI. I deliberately didn’t target Windows, because, well, Windows is an abomination, .NET MAUI on Windows is a buggy mess, and I’m doubtful that WinUI has a rosy future.
The core functionality of the app is loading/displaying/saving images, and manipulating images through their pixel values. Writing an image processing app, particularly one that performs scientific image processing, typically involves accessing pixel data rather than simply calling APIs to perform image processing operations. With SkiaSharp this is all cross-platform code that could be deployed to most platforms without alteration (this doesn’t include Windows, which as I previously mentioned is an abomination).
I initially used the SKImage class to display images. However, attempting to get the pixel data from an SKImage always returned null in SkiaSharp 3. Interestingly, it worked in SkiaSharp 2. So I switched to using the SKBitmap class instead. Many years ago there was talk of Google deprecating SKBitmap, but this doesn’t seem to have happened.
Get pixel data
SkiaSharp offers a number of different approaches for getting pixel data for an image and understanding the difference between them is key to creating a performant app. The fastest way to obtain pixel data is to use the GetPixels method to return a pointer to the data, and then dereference the pointer whenever you want to read/write a pixel value, and then use pointer arithmetic to move the pointer to process other pixels. Using this approach requires knowledge of how pixel data is stored in memory on your chosen platform. On Android/iOS/Mac Catalyst, each pixel is stored as four bytes in RGBA format, which is represented in SkiaSharp by the SKColorType.Rgba8888 type (on Windows, each pixel is stored as four bytes in BGRA format).
A simple way of testing your ability to get image pixel data and manipulate it is to write code to convert a colour image to greyscale. The following code shows how this is achieved in SkiaSharp:
public static unsafe SKPixmap ToGreyscale(this SKBitmap bitmap)
{
    SKPixmap pixmap = bitmap.PeekPixels();
    byte* bmpPtr = (byte*)pixmap.GetPixels().ToPointer();
    int width = bitmap.Width;
    int height = bitmap.Height;
    byte* tempPtr;

    for (int row = 0; row < height; row++)
    {
        for (int col = 0; col < width; col++)
        {
            tempPtr = bmpPtr;
            byte red = *bmpPtr++;
            byte green = *bmpPtr++;
            byte blue = *bmpPtr++;
            byte alpha = *bmpPtr++;

            // Assume SKColorType.Rgba8888 (used by Apple platforms and Android)
            byte result = (byte)(0.2126 * red + 0.7152 * green + 0.0722 * blue);

            bmpPtr = tempPtr;
            *bmpPtr++ = result; // red
            *bmpPtr++ = result; // green
            *bmpPtr++ = result; // blue
            *bmpPtr++ = alpha;  // alpha
        }
    }
    return pixmap;
}
The ToGreyscale extension method converts a colour image to greyscale by retrieveing a pointer to the start of the pixel data, and then retrieving the R, G, B, and A components of each pixel by dereferencing the pointer and then incrementing its address. The greyscale pixel value is obtained by multiplying the R value by 0.2126, multiplying the G value by 0.7512, multiplying the B value by 0.0722, and then summing the results:
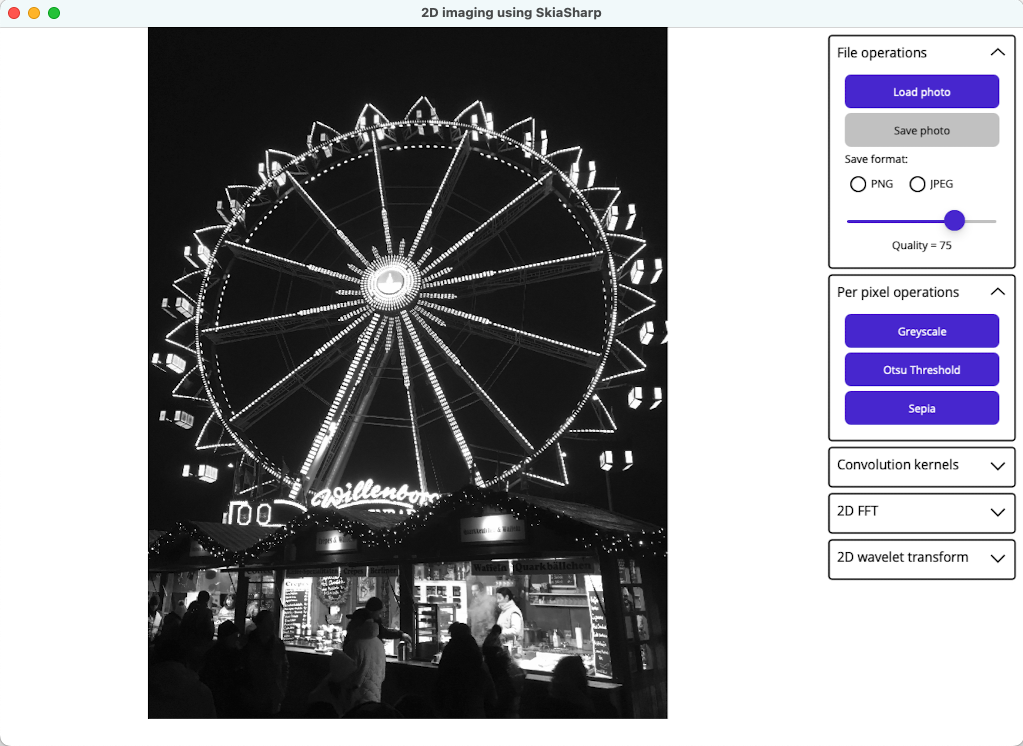
Watch out! The input to the ToGreyscale method is an image in RGBA8888 format, and the output it still an image in RGBA8888 format, despite being a greyscale image. Therefore, the R, G, and B components of each pixel are all set to the same value. In a full app the image should be reduced from 32bpp to 8bpp.
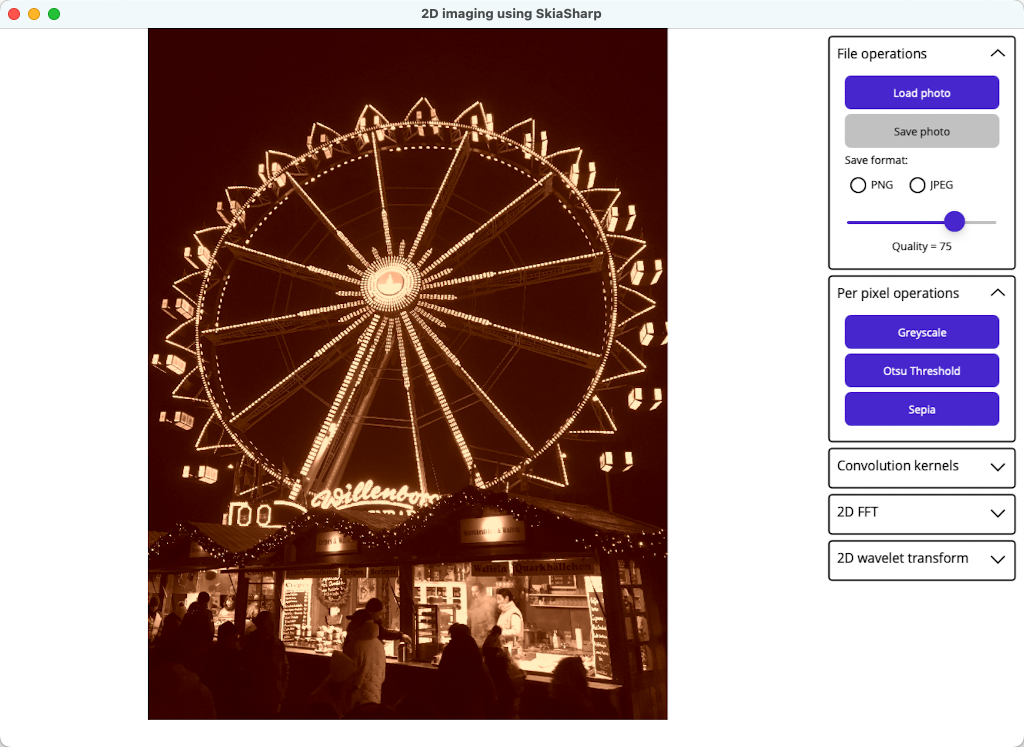
Similarly, the following code shows how to convert a colour image to sepia:
public static unsafe SKPixmap ToSepia(this SKBitmap bitmap)
{
    SKPixmap pixmap = bitmap.PeekPixels();
    byte* bmpPtr = (byte*)pixmap.GetPixels().ToPointer();
    int width = bitmap.Width;
    int height = bitmap.Height;
    byte* tempPtr;

    for (int row = 0; row < height; row++)
    {
        for (int col = 0; col < width; col++)
        {
            tempPtr = bmpPtr;
            byte red = *bmpPtr++;
            byte green = *bmpPtr++;
            byte blue = *bmpPtr++;
            byte alpha = *bmpPtr++;

            // Assume SKColorType.Rgba8888 (used by Apple platforms and Android)
            byte intensity = (byte)(0.299 * red + 0.587 * green + 0.114 * blue);

            bmpPtr = tempPtr;
            *bmpPtr++ = (byte)((intensity > 206) ? 255 : intensity + 49); // red
            *bmpPtr++ = (byte)((intensity < 14) ? 0 : intensity - 14);    // green
            *bmpPtr++ = (byte)((intensity < 56) ? 0 : intensity - 56);    // blue
            *bmpPtr++ = alpha;  // alpha
        }
    }
    return pixmap;
}
The ToSepia extension method first derives an intensity value for the pixel (essentially a greyscale representation of the pixel), based on its R, G, and B components, and then sets the R, G, and B components based on this intensity value:
I also implemented Otsu’s thresholding algorithm, as an example of binarisation. This algorithm typically derives the threshold for an image by minimizing intra-class variance. However, the implementation I’ve used derives the threshold by maximising inter-class variance, which is equivalent. The threshold is then used to separate pixels into foreground and background classes. For more information about this algorithm, see Otsu’s method. The code for the algorithm can be found on GitHub. The following screenshot shows an image thresholded with this algorithm:

These algorithms are implemented as extension methods so they can easily be called on SKBitmap objects. My BitmapRendererService object includes a Bitmap property, of type SKBitmap. Therefore, imaging operations can easily be called on the SKBitmap object from viewmodels:
SKPixmap pixmap = _bitmapService.Bitmap.ToGreyscale();
_bitmapService.InvalidateSurface(); // Redraw the image
For information about the BitmapRendererService, see SkiaSharp and MVVM.
If you want to see other examples of using SkiaSharp in .NET MAUI, check out the SkiaSharp samples that I wrote while I was still at Microsoft.