Adventures in ARKit - overlay an image
In my previous blog post I discussed how to create a basic ARKit app on Xamarin.iOS, that displays the camera output. In this blog post I’ll take the first steps into augmenting the experience by overlaying an image on the camera output.
Before I got to grips with overlaying images, I first overlayed basic geometric shapes - spheres, cones, cylinders etc. There’s nothing I want to call out about doing that. However, my experimentation can be found in a sample. For info on how it works, you could buy the book .
The sample this code comes from can be found on GitHub.
Overlay an image
Objects that you overlay on the camera output are called nodes. By default, nodes don’t have a shape. Instead, you give them a geometry (shape) and apply materials to the geometry to provide a visual appearance. Nodes are represented by the SceneKit SCNNode type.
One of the geometries provided by SceneKit is SCNPlane, which represents a square or rectangle. This type essentially acts as a surface on which to place other objects.
In my sample app, I defined a ImageNode type, that derives from SCNNode, which can be re-used when overlaying an image onto a scene:
using SceneKit;
using UIKit;
using Foundation;

namespace ARKitFun.Nodes
{
    public class ImageNode : SCNNode
    {
        public ImageNode(string image, float width, float height)
        {
            SCNNode node = new SCNNode
            {
                Geometry = CreateGeometry(image, width, height)
            };
            AddChildNode(node);
        }

        SCNGeometry CreateGeometry(string resource, float width, float height)
        {
            UIImage image;

            if (resource.StartsWith("http"))
                image = FromUrl(resource);
            else
                image = UIImage.FromFile(resource);

            SCNMaterial material = new SCNMaterial();
            material.Diffuse.Contents = image;
            material.DoubleSided = true; // Ensure geometry viewable from all angles

            SCNPlane geometry = SCNPlane.Create(width, height);
            geometry.Materials = new[] { material };
            return geometry;
        }

        UIImage FromUrl(string url)
        {
            using (NSUrl nsUrl = new NSUrl(url))
            using (NSData imageData = NSData.FromUrl(nsUrl))
                return UIImage.LoadFromData(imageData);
        }
    }
}
The ImageNode constructor takes a string argument that represents the filename or URI of an image, and float arguments that represent the width and height of the image in the scene. The constructor creates a SCNNode, assigns a geometry to its Geometry property, and adds the node as a child node to the SCNNode.
The CreateGeometry method creates a UIImage object that represents the local or remote image, and creates a SCNMaterial object that represents the image. Then, a SCNPlane object is created, of size width x height, and the the SCNMaterial object is assigned to the geometry. Therefore, the shape of the node is defined by the SCNPlane object of width x height, and the material (the image) defines the visual appearance of the node.
The code from my previous blog post can be modified to overlay an image on the camera output. This is accomplished by modifying the ViewDidAppear method in the ViewController class:
using System;
using ARKit;
using ARKitFun.Nodes;
using SceneKit;
using UIKit;

namespace ARKitFun
{
    public partial class ViewController : UIViewController
    {
		...
        public override void ViewDidAppear(bool animated)
        {
            base.ViewDidAppear(animated);

            sceneView.Session.Run(new ARWorldTrackingConfiguration
            {
                AutoFocusEnabled = true,
                LightEstimationEnabled = true,
                PlaneDetection = ARPlaneDetection.Horizontal,
                WorldAlignment = ARWorldAlignment.Gravity
            }, ARSessionRunOptions.ResetTracking | ARSessionRunOptions.RemoveExistingAnchors);

            ImageNode imageNode = new ImageNode("Xamagon.png", 0.1f, 0.1f);
            imageNode.Position = new SCNVector3(0, 0, -0.25f); // X,Y,Z

            sceneView.Scene.RootNode.AddChildNode(imageNode);
        }
        ...
    }
}
When the session for the ARSCNView runs, it automatically sets the camera to be the background of the view. In addition, the initial device location is registered as the world origin (X=0, Y=0, Z=0). Any objects you place in the scene will be relative to the world origin.
If you don’t specify the position of a node within a scene, it will by default be placed at the world origin (0,0,0). However, a node can be positioned in 3D space by setting the Position property of the SCNNode to a SCNVector3 object that defines the X,Y,Z coordinates of the node. The values of X,Y,Z are floats where 1f = 1m, 0.1f = 10cm, and 0.01f = 1cm.
In the example, an ImageNode is then created for a local file, that’s included in the project, of dimensions 10cm x 10cm. The ImageNode is placed at the world origin (0,0) for the X and Y coordinates, and 25cm forwards on the Z-axis. ImageNode is then added to the scene by the AddChildNode method call.
The overall effect is that the Xamagon is placed in the scene at the specified coordinates:
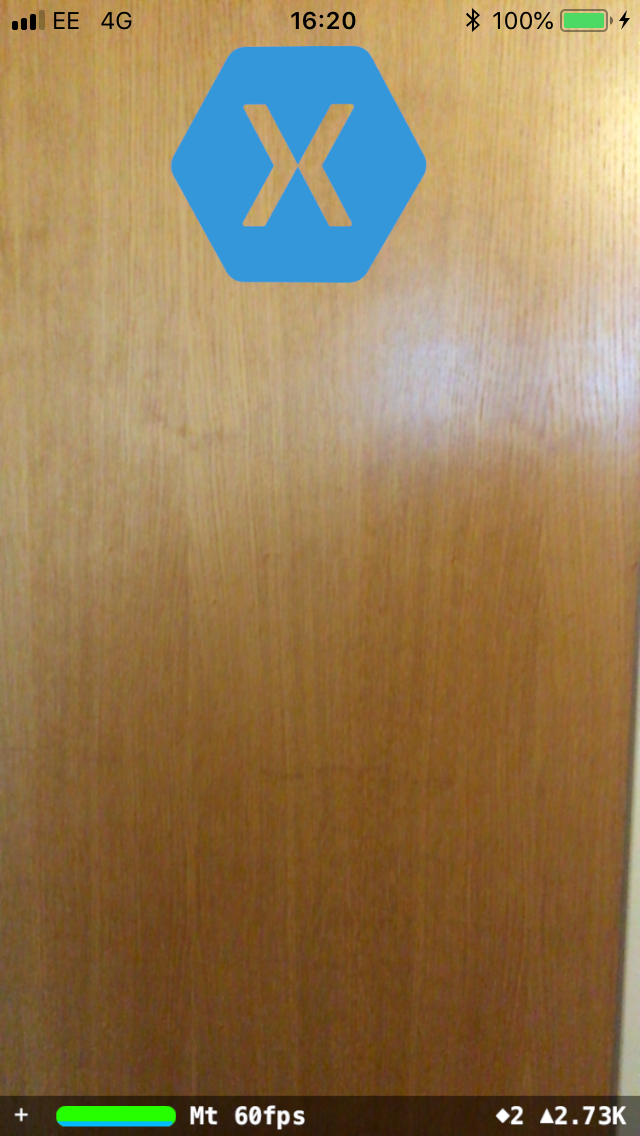
Note that the image contains transparency, and so blends well in the scene.
In my next blog post I’ll discuss interacting with the image in the scene.